

Harnessing the Power of Rain Diverters
In the realm of home improvements and cost-saving solutions, rain diverters stand out as a practical and efficient option for homeowners. These simple yet ingenious devices offer a myriad of benefits, ensuring that your property remains dry and damage-free, even in the heaviest of downpours. In this comprehensive guide, we delve into the intricacies of rain diverters, providing you with all the information you need to make an informed decision and potentially save a significant amount on gutter-related expenses.
Understanding Rain Diverters: What Are They?
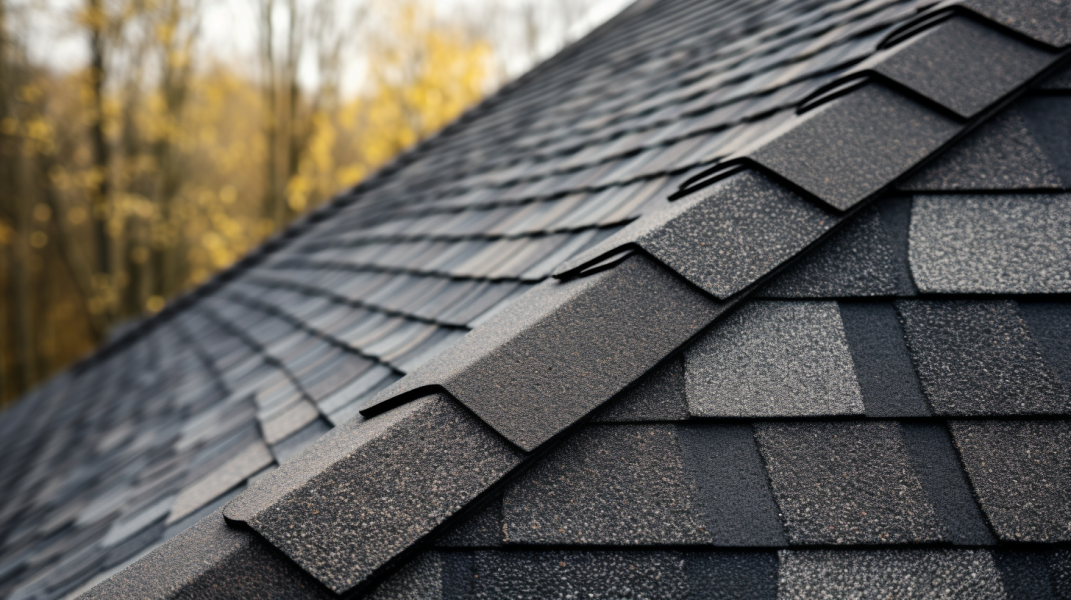
Rain diverters are designed to channel water away from crucial areas of your home, such as doorways and walkways, ensuring that these spaces remain dry and safe. Typically crafted from durable sheet metal and featuring an L-shape, rain diverters are strategically placed on your roof to redirect water flow. This simple modification can make a world of difference, preventing the formation of waterfalls at your entrances and protecting your property from water damage.
The Installation Process: A Step-by-Step Guide
Installing a rain diverter is a straightforward process that can be accomplished with minimal tools and expertise. Here’s a step-by-step guide to help you through the installation:
1. Measure and Cut the Diverter
Begin by using a ladder to access the roof area above the doorway or area you wish to protect. Measure the width of the space and cut the rain diverter to size, ensuring that it extends approximately one foot on each side for optimal performance.
2. Prepare the Roof Shingles
Gently lift the second layer of shingles using a putty knife or small pry bar, creating space to slide the rain diverter underneath.
3. Position and Secure the Diverter
Place the rain diverter under the lifted shingles, ensuring that it is slightly slanted (1-2 inches lower on one side) to facilitate water flow. Secure the diverter in place using roofing nails, lifting the shingles as needed to avoid any damage.
4. Seal and Finish
Apply roofing cement to the underside of the shingles, filling any gaps and creating a watertight seal. Press down firmly to set the cement and ensure that the shingles lay flat over the diverter.
The Benefits: Why Choose a Rain Diverter?
Opting for a rain diverter over traditional gutters offers numerous advantages. Not only are they more cost-effective, but they also require less maintenance and can be installed quickly and easily. By directing water away from crucial areas, rain diverters enhance the safety and longevity of your property, making them a smart investment for any homeowner.
Choosing the Right Contractor: Nova Home Improvements
When it comes to installing rain diverters, it’s crucial to choose a contractor you can trust. Nova Home Improvements, a reputable roofing contractor in Chicopee, MA, stands out as a top choice. With years of experience and a commitment to quality, Nova Home Improvements ensures that your rain diverter is installed correctly, providing you with peace of mind and lasting results.
Conclusion: Protect Your Home with a Rain Diverter
In conclusion, rain diverters offer a simple yet effective solution for protecting your property from water damage. By redirecting water flow away from crucial areas, these devices enhance the safety and longevity of your home, saving you money on potential repairs and replacements. When it comes to installation, trust the experts at
Nova Home Improvements to get the job done right, ensuring that your home remains dry and damage-free for years to come.