


How to Repair a Hole in a Shingle Roof?
Roof repairs are a crucial aspect of maintaining your home. If left unattended, a hole in your roof can lead to water damage, ruining insulation and creating a perfect breeding ground for mold. In this article, we will guide you on how to repair a hole in a shingle roof yourself.
What You Will Need
Before you start, gather the following materials:
- Claw hammer
- Pry bar
- Circular saw, or reciprocating saw
- Roofing nails
- Tar paper
- Roofing cement
- Roofing tar
- Liquid nails
- Leftover shingles or new shingles identical to the existing roof
- New plywood of the same thickness as the existing plywood
- Deck screws
- Metal roof flashing (optional)
How to Repair a Hole in a Shingle Roof: Step-by-Step Guide
Step 1: Locate the Hole You Want to Repair
Identify the roof hole or roof holes you need to repair. A hole in the roof is often evident due to leaks, but in some cases, you may need to climb onto your roof to visually inspect it.
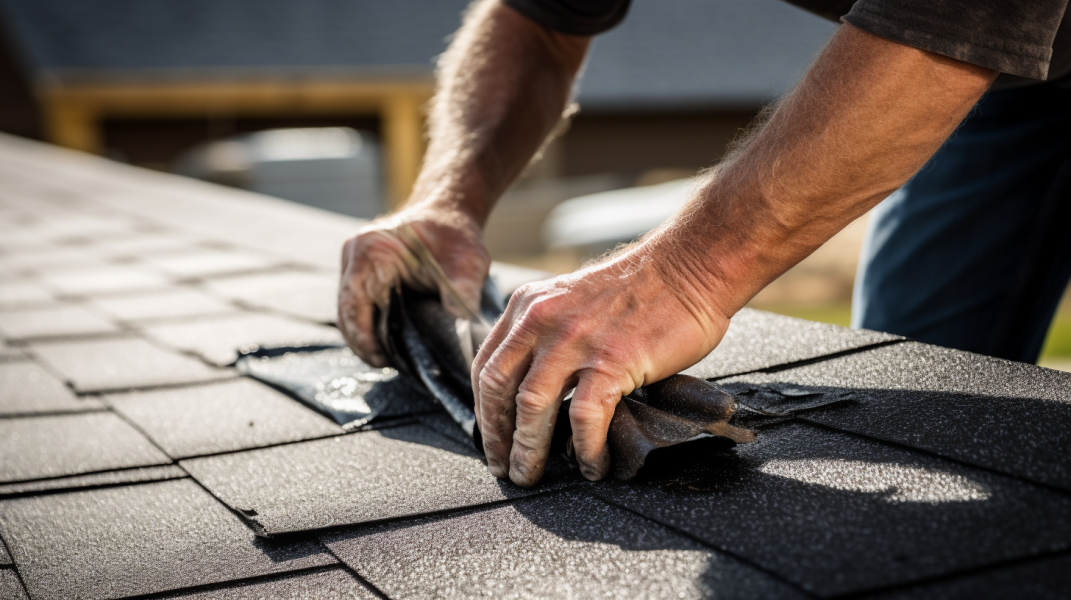
Step 2: Remove Damaged Shingles
Carefully remove the damaged shingles around the hole using the claw side of your hammer or a pry bar. Remember to remove the nails with the claw of the hammer.
Step 3: Assess the Underlying Decking
Remove the tar paper to expose the roof decking. Check the existing plywood for any signs of damaged decking, such as water stains or rot.
Step 4: Cut Away the Damaged Decking
If there's a damaged area, use a circular or reciprocating saw to cut away the damaged plywood. Set the cut depth of the saw to match the deck's thickness to avoid cutting into the existing good plywood. Cut a rectangular section that spans at least the length of two holes on the top and bottom frames of the roof.
Step 5: Create Framing for the New Plywood
For larger holes, it may be necessary to create framing for the new plywood to sit on. Cut and install pieces to fit where the old plywood meets the new decking patch using leftover pieces from the damaged decking or new frame materials.
Step 6: Install the New Plywood
Cut new plywood of the same thickness as the existing plywood to the exact dimensions of the hole. Ensure the plywood meets the existing decking on all sides. Secure it using deck screws.
Step 7: Apply Tar Paper
Lay tar paper over the new plywood and secure it using roofing nails. Applying tar paper is an important step as it acts as a water barrier to prevent leaks and future insurance claims.
Step 8: Install New Shingles
Starting from the bottom, install the new shingles, making sure to overlap the top edges of the ones below. Attach the shingles using roofing nails.
Step 9: Seal the Shingles
Seal the top shingles and edges with roofing tar or roofing cement to ensure water doesn't seep into the new roof.
Step 10: Clear the Area
Remove all the remaining nails and other roofing materials from the roof and the ground to prevent accidents.
Why Hire a Professional to Fix the Hole in a Shingle Roof
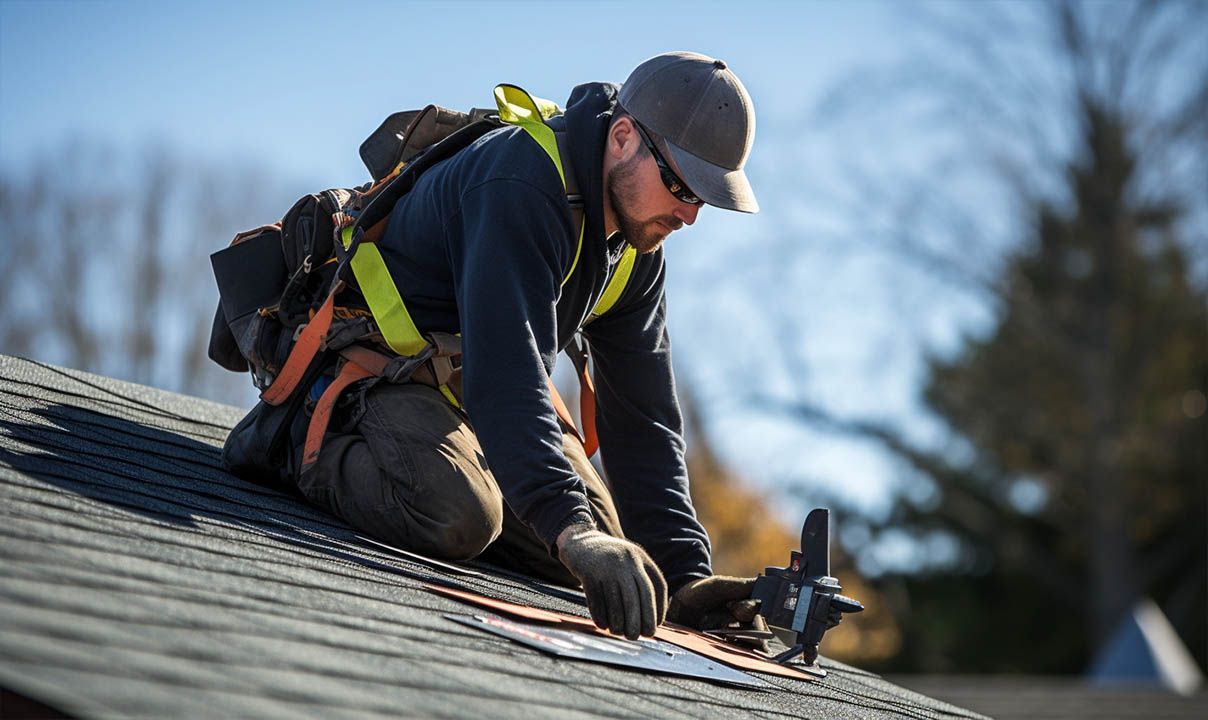
Safety
Roof repairs often involve climbing and working at considerable heights. For those uncomfortable with heights or without experience working in these conditions, there is a risk of falls or injuries. A professional roofer has the necessary training, equipment, and experience to carry out roof inspections and repairs safely.
Experience
A professional roofer possesses in-depth knowledge and understanding of different roofing systems and their associated problems. They can quickly identify issues like a hole in the roof, assess the extent of the damage, and recommend the most effective solution.
Quality of Work
Professionals have the right tools and materials for the job, ensuring high-quality work. While DIY repairs may seem cost-effective initially, improper repairs can lead to more significant problems down the line. Professionals ensure the work is done correctly, preventing leaks, future insurance claims, and prolonging the lifespan of your roof.
Time-Saving
Inspecting and repairing a roof can be time-consuming, especially for those without experience. A professional roofing contractor can complete these tasks in a fraction of the time, allowing homeowners to focus on other tasks or responsibilities.
Detailed Inspection
A professional can comprehensively inspect the entire roof, not just the obvious areas of damage. They can spot early signs of damage that you might overlook, preventing minor issues from turning into major, more costly repairs. Their expertise enables them to assess the condition of roofing materials, flashings, and structures, ensuring the overall health of your roof.
If you want a professional to work on your roof, call Nova Home Improvements. The company has many years of experience in roof inspection, installation, and maintenance.
Frequently Asked Questions About Roof Repairs
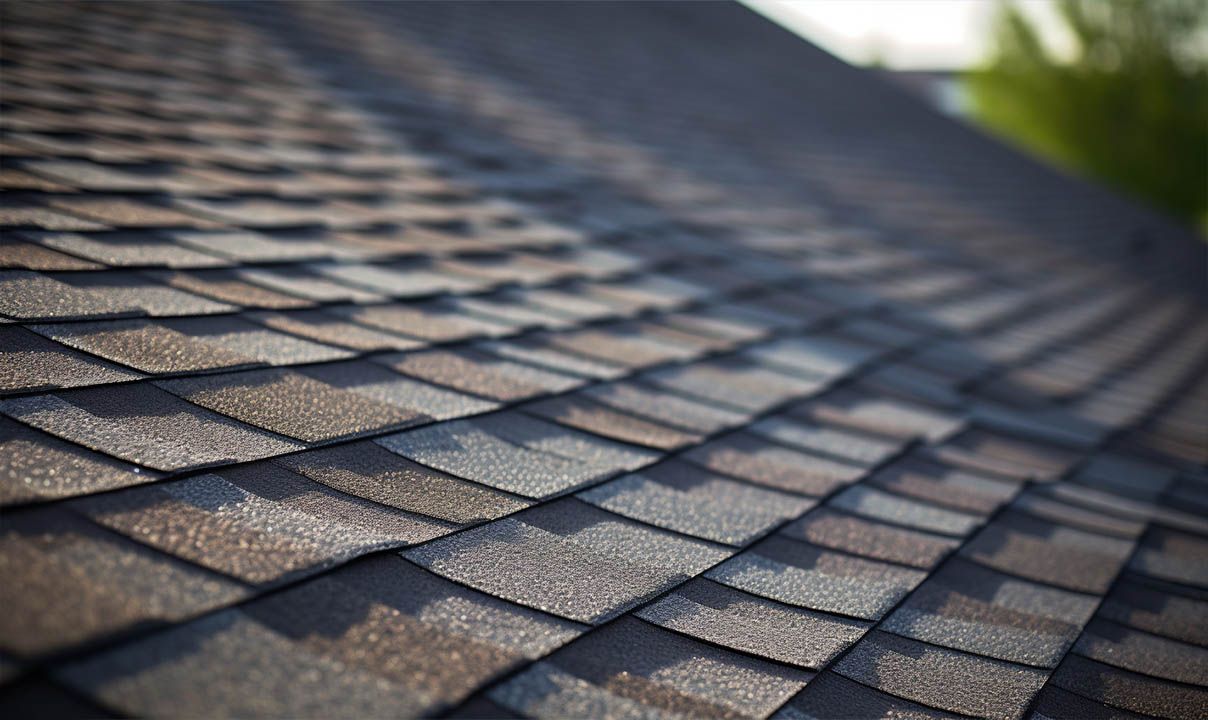
1. How do I know if my roof needs repair?
Signs that your roof needs repair include leaks in the attic, water stains on your ceilings or walls, shingles that are missing, cracked, or curling, and granules from shingles collecting in gutters. Additionally, if your roof is more than 20 years old, it may need repair or replacement.
2. Can I repair the roof myself?
Yes, small repairs like fixing a hole in your roof can be a DIY job, provided you are comfortable with heights and have basic carpentry skills. However, for larger repairs, or if your roof is steep or high, it is recommended to hire a professional to ensure safety and quality of work.
3. How often should I have my roof inspected?
Having your roof inspected at least once or twice a year is advisable. Additionally, inspections should be conducted after severe weather events, such as storms or hail, which could cause damage to your roof.
4. How long does it take to repair a roof?
The time it takes to repair a roof depends on the extent of the damage and the type of repairs required. A small hole might only take a couple of hours to fix, whereas more extensive damage could require several days of work.
5. How much does it cost to repair a roof?
The cost of roof repairs can vary greatly depending on the nature of the repair, the materials used, and labor costs in your area. For a small repair, costs might be as low as $100-$300, while larger repairs can run into the thousands. Getting a few quotes from different roofers is always a good idea to ensure you're getting a fair price.


BROWSE OUR WEBSITE
CONTACT INFORMATION
Address: 764 Springfield St, Agawam MA 01030
Phone: (413) 455-8218
Email: novahome2021@gmail.com
License Numbers:
Ct hic 0666426
Mass Hic203142
Mass Csl116158
BUSINESS HOURS
- Mon - Sat
- -
- Sunday
- Closed


100% with no payments for a year financing available
100% financing at 0% interest for one year through GreenSky
ACH Available