

How to Repair a Shingle Roof Leak?
Having a leaky roof can be a frustrating and worrisome problem. If you have a shingle roof and are experiencing leaks, don't panic. With the right tools and a step-by-step approach, you can repair the leak and prevent further damage to your home.
Read this guide to learn how.
What Causes Leaks on Shingle Roofs?
Shingle roofs can develop leaks due to various reasons. Understanding the underlying causes is crucial in identifying and addressing the issues effectively. Here are the key factors that can lead to leaks on shingle roofs:
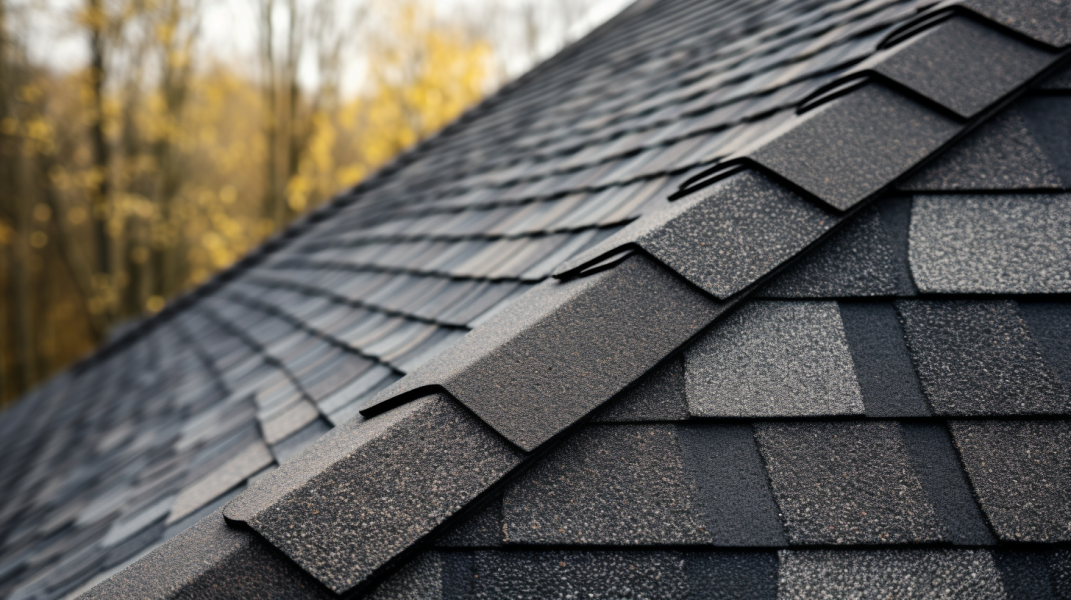
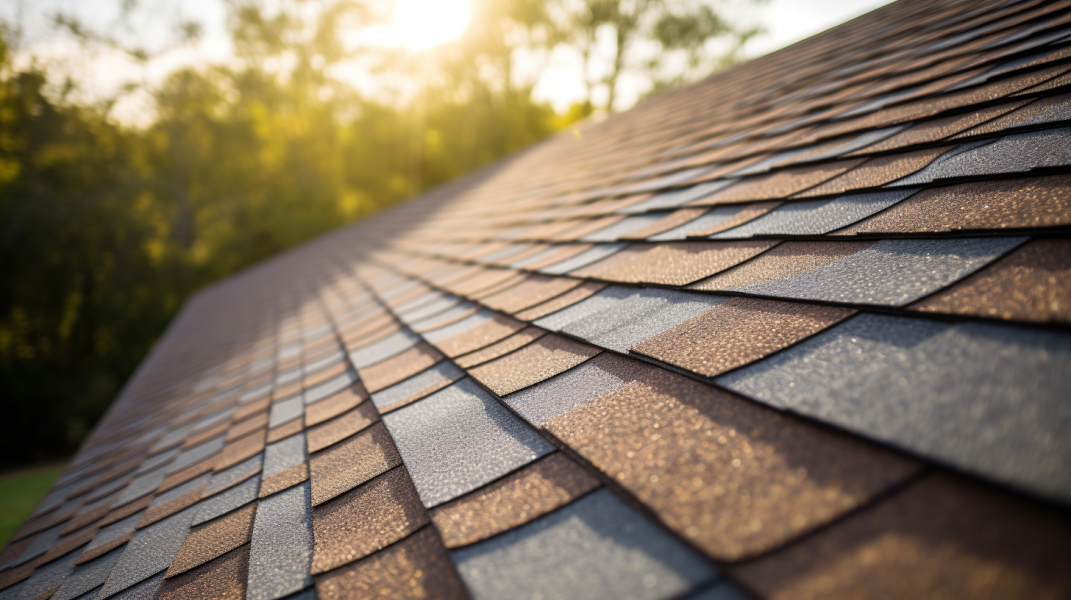
A Leaking Roof Due to Broken or Missing Shingles
Over time, asphalt shingles can become brittle and prone to breaking. This can occur due to age, prolonged exposure to harsh weather conditions, or the use of low-quality shingles.
When shingles break or develop cracks, they create openings for water to penetrate the roof system. Inspecting your shingles regularly and replacing any damaged ones to prevent leaks is important. Check for missing shingles too.
When the Flashing is Cracked
Flashing refers to the metal strips installed in areas where the roof meets vertical structures, such as chimneys, vents, and skylights. The purpose of flashing is to create a watertight seal and prevent leaks. However, if the flashing becomes cracked, corroded, or damaged, it can compromise its effectiveness.
Water can seep through these gaps and find its way into your home. It's essential to inspect the flashing regularly and repair or replace any damaged sections to maintain a watertight seal.
Valleys That Are Not Sealed
Valleys are where two sloping roof sections meet, creating a V-shaped channel. Proper sealing of these valleys is crucial for preventing leaks.
If the valleys are not adequately sealed with flashing and roofing materials, water can accumulate and flow under the shingles, leading to leaks. Regular inspection and maintenance of the valley areas are essential to ensure they remain watertight.
Issues with Gutters
Gutters play a vital role in directing water away from your roof. However, if the gutters are clogged with debris or damaged, water can overflow and run down the side of the house, potentially finding its way under the roof shingles.
This can cause leaks and water damage. Regular cleaning and maintenance of gutters are essential to ensure proper water flow and prevent potential roof leaks.
Rotting in the Attic
Poor ventilation and insulation in the attic can create excessive moisture buildup. This can lead to rotting of the roof deck and the wooden structures supporting the roof.
Over time, the weakened structure can let water seep through, causing leaks. Proper attic ventilation, insulation, and regular inspections are necessary to prevent moisture-related damage and subsequent roof leaks.
Lack of Proper Maintenance
Regular maintenance is crucial for the longevity of your shingle roof. Neglecting routine inspections, cleaning debris, and addressing minor issues can result in bigger problems, including roof leaks.
Failing to identify and repair damaged shingles, flashing, or other components can leave your roof vulnerable to water infiltration. It's important to prioritize regular roof maintenance to prevent potential leaks and extend the lifespan of your roof.
How to Repair a Shingle Roof Leak
Now that you understand some of the causes behind shingle roof leaks let's move on to the repair process. By following these step-by-step instructions, you can address the issue effectively.
Tools and Materials
Before beginning the repair process, gather the necessary tools and materials. Having everything prepared will ensure a smoother and more efficient repair experience. Here are the essential tools and materials you will need found in your local hardware store:
Ladder
A sturdy ladder is crucial for accessing your roof safely. Choose a ladder that is appropriate for the height and slope of your roof. Ensure that it is stable and securely positioned before climbing up.
Pry Bar and Putty Knife
A pry bar and putty knife will come in handy for removing damaged shingles and nails. These tools allow you to carefully lift and separate the shingles without causing further damage.
Utility Knife
A sharp utility knife will be useful for cutting and trimming shingles, flashing, and other roofing materials. A putty knife should be good too. Make sure to use caution when handling the knife to avoid injuries.
Roof Cement
Roofing cement, also known as roof sealant or mastic, is a flexible adhesive used to secure shingles, repair cracks, and create a watertight seal. Choose a high-quality roofing cement that is compatible with your shingles and suitable for your specific repair needs.
Roofing Nails
Roofing nails are necessary for securing new shingles in place. Opt for nails specifically designed for roofing applications, as they have a larger head and are galvanized to resist corrosion.
Caulk Gun
A caulk gun is essential for dispensing roofing sealant with precision and control. This tool allows you to apply a thick bead of sealant in a smooth and even manner. It's a crucial tool for an roof leak repair job.
Replacement Shingles
Having replacement shingles on hand is crucial for replacing damaged ones. Ensure that the replacement shingles match your existing roof's type, style, and color to maintain a cohesive appearance. Ask a professional roofer to recommend the best roofing material if you are not sure which one to choose.

The Tips
Now that you have all the tools ready, here is how to repair a shingle roof leak.
1.Find Roof Leaks
When you discover a roof leak, the first step is to locate its source accurately. By identifying the precise location of the leak, you can effectively address the issue and prevent further damage. Here are some methods you can use to find the roof leak:
Check for Water Drips When It Rains Heavily
During periods of heavy rainfall, carefully observe your interior living spaces. Look for any signs of water dripping from the ceiling or running down the walls. Pay close attention to areas where water stains or wet spots are visible. This can provide valuable clues to the location of the roof leak.
Observe Leaks from the Attic
Another method is to inspect your attic during daylight hours. Using a flashlight, carefully examine the attic space for any signs of water intrusion. Look for wet spots, discoloration, or visible water trails. These indicators can help you pinpoint where the water penetrates the roof vents.
Look for Water Stains on the Ceiling
Water stains on your ceiling are often visible signs of a roof leak. Examine the ceilings in all rooms, paying attention to any discoloration, yellowish-brown marks, or damp patches. Trace the water stains back to their source to determine the location of the roof leak.
2.Reset Curled Back Shingles
Secure any curled or cupped shingles that may be causing the leaks. Here's how:
- Carefully lift the curled shingle.
- Apply roofing cement underneath.
- Press the shingle back into place and hold it for a few seconds to allow the cement to bond.
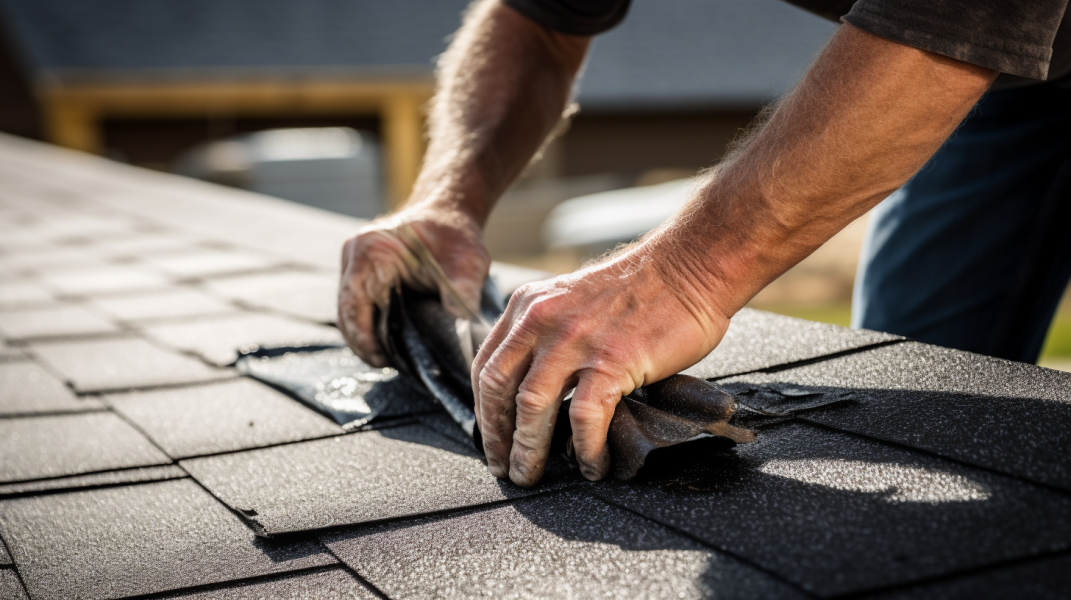
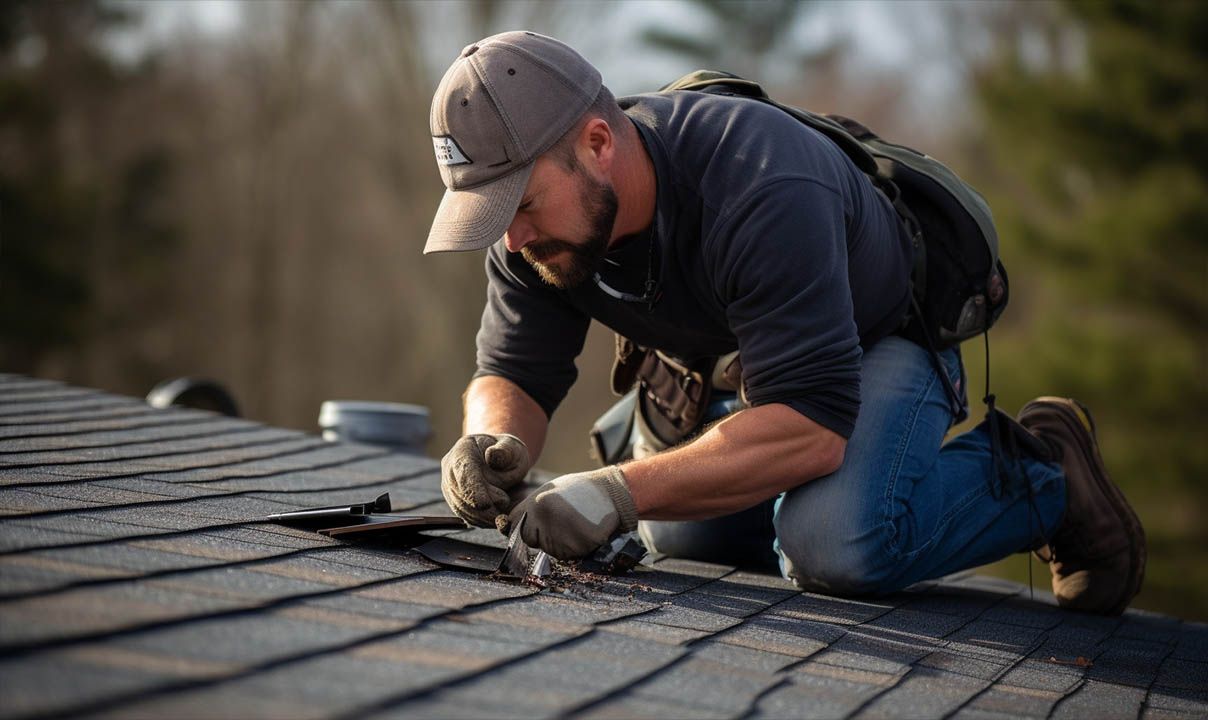
3.Replace Damaged Shingles
If damaged shingles cause the leak, follow these steps to replace them:
- Find the leak by tracing the water stains back to the damaged area.
- Use a pry bar or putty knife to remove the damaged shingles and nails.
- Apply roofing cement to the back of the new shingle.
- Install the new shingle, aligning it with the surrounding shingles.
- Seal it up by applying roofing cement over the nail heads and edges of the shingle.
4.Check and Repair the Flashing
The flashing on your roof plays a crucial role in preventing water from penetrating vulnerable areas such as chimneys, vents, skylights, and roof valleys. Over time, flashing can become damaged or deteriorate, compromising its effectiveness.
Follow these steps to check and repair the flashing on your roof:
Inspect the Flashing
Carefully examine the metal flashing around chimneys, vents, skylights, and other roof penetrations. Look for any signs of damage, such as cracks, corrosion, or gaps. Pay close attention to areas where the flashing meets the roof surface and where different sections of flashing overlap. These are common areas where leaks can occur.
Clean the Flashing
If you notice any debris or dirt on the flashing, clean it off using a soft brush or cloth. Ensure the flashing surface is free from obstructions or blockages that prevent a proper seal.
Apply Roofing Cement
If you find any visible damage to the flashing, apply roofing cement to seal the affected area. Using a caulk gun or putty knife, carefully apply a layer of roofing cement over the damaged section. Make sure to spread the cement evenly and cover the entire damaged area. The roofing cement acts as a barrier, preventing water from seeping through the gaps or cracks in the flashing.
Install New Flashing
In cases where the flashing is severely damaged or cannot be effectively repaired with roofing cement, it may be necessary to replace the flashing entirely. To install new flashing:
- Carefully remove the old flashing using a pry bar or other suitable tool.
- Clean the area thoroughly and ensure it is dry before installing the new flashing.
- Follow manufacturer instructions and best practices to properly secure and seal the new flashing in place.

Conclusion
Repairing a shingle roof leak doesn't have to be a daunting task. Following the step-by-step guide outlined above, you can effectively identify and address the leak's cause, ensuring longevity of your roof.
However, if you feel uncomfortable performing these repairs yourself, it's always wise to seek the help of a professional roofing contractor. Regular maintenance and timely repairs are essential to prevent roof leaks and protect your home from further damage.
Nova Home Improvements can help you. This experienced and reputable roofing contractor offers the most reliable roof repair services. Your home is in good hands.