


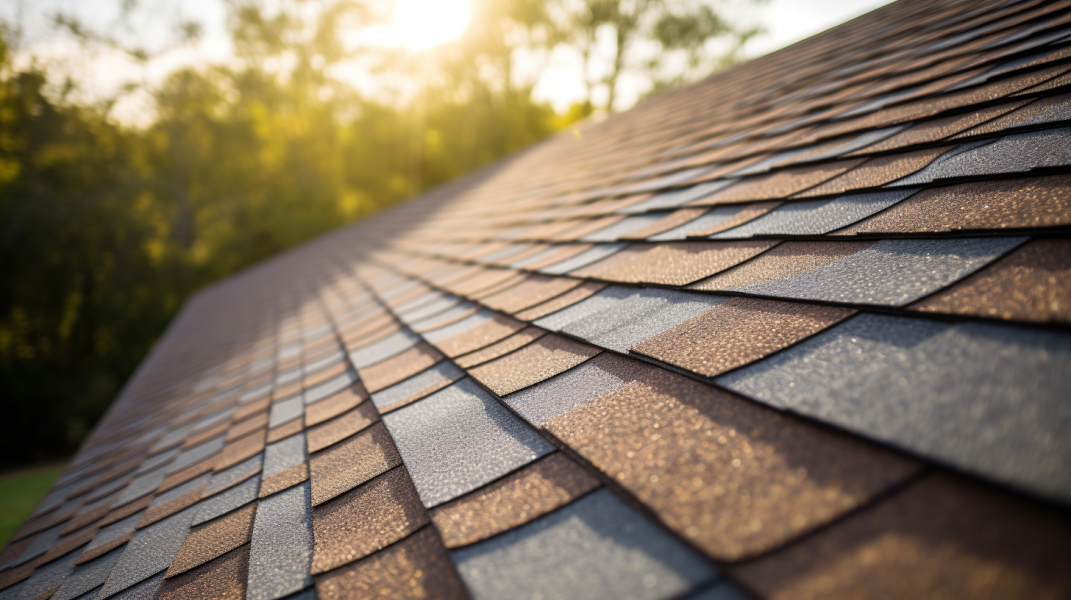
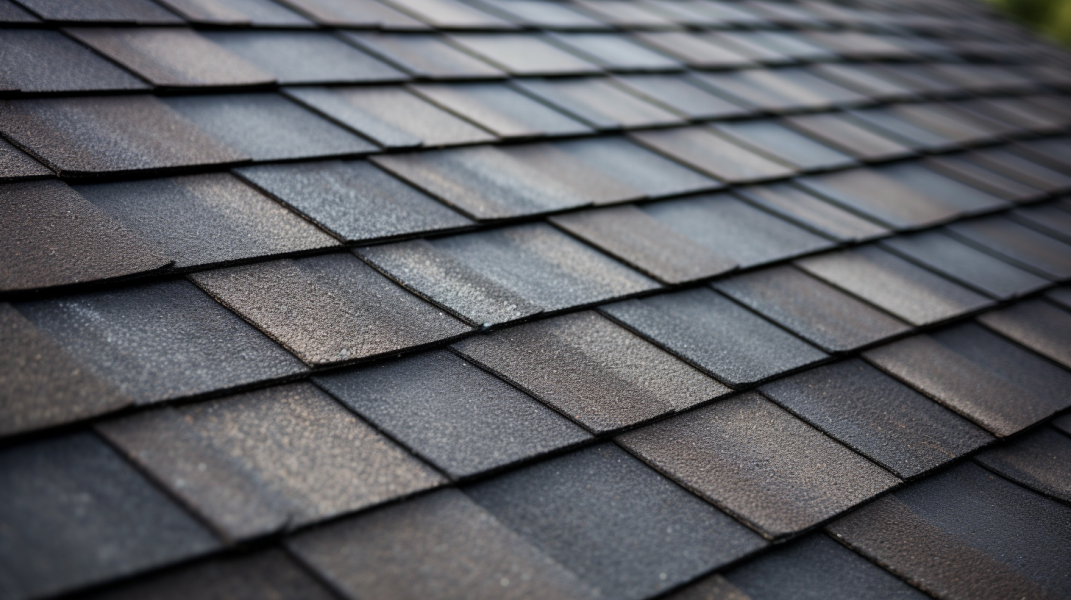
How to repair an asphalt shingle roof
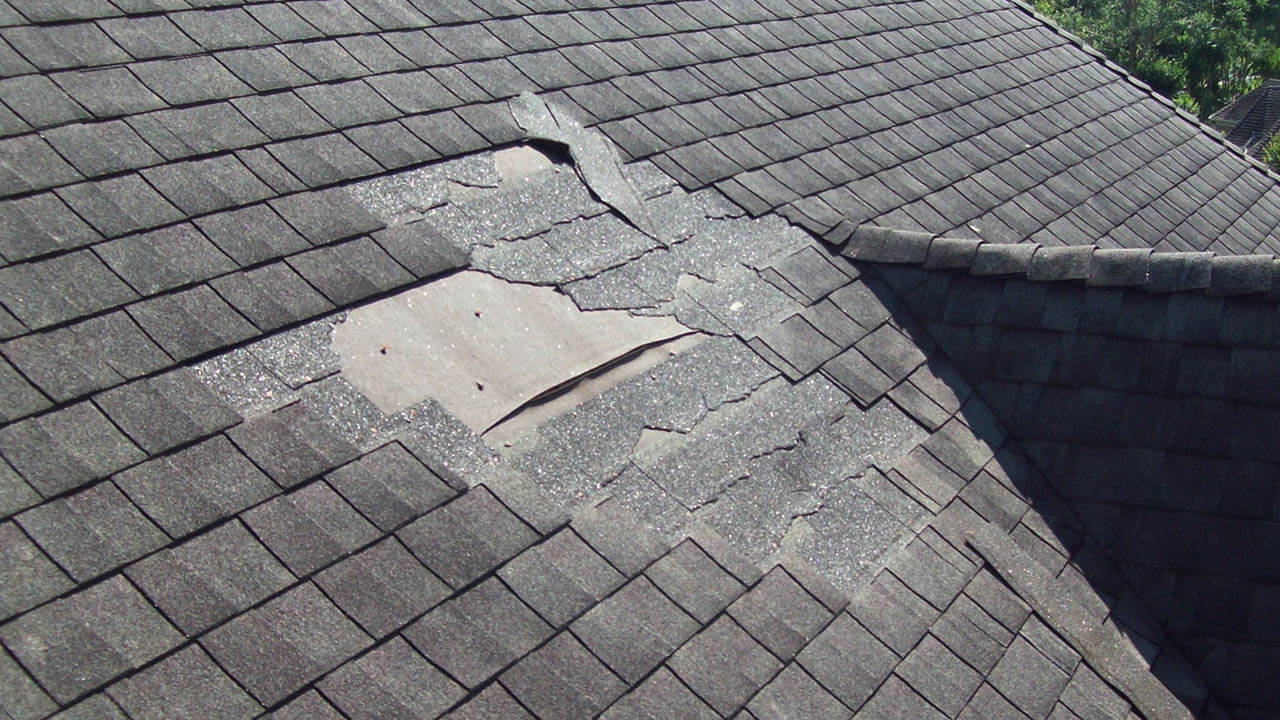
So you just had a mother of all storms pass over your house last night, and it knocked out a couple of asphalt shingles off your roof. If you don't do anything about it - it's only a matter of time before it starts letting in water and causing major structural damage.
Don't fret - replacing asphalt shingles is one of the simplest repairs you can do. In this article, we'll teach you how to get your roof in pristine condition in 6 simple steps.
Fixing Your Asphalt Shingle Roof - A Step By Step Guide
Even if a nasty storm passed by and damaged your roof, there's no need to worry. Unless a tree or a plane crashed through your house, you probably don't have to replace your entire roof.
Fixing an asphalt shingle roof usually involves replacing a couple of broken shingles and applying some sealant. It's a simple fix that doesn't take a lot of time to do.
What Tools You Need To Repair Asphalt Shingle Roof
First thing first, you'll need some tools and roofing materials.
Here's what tools you'll need:
- A Hammer
- Ladders
- Hook Blade
- Flat ply bar
Here's what supplies you'll need:
- Replacement shingles
- Quarter-inch roofing nails
- Roof sealant
Now, it's time to get to fixing!
Step 1: Inspecting The Damage
Before you step onto the roof, you need to assess the shingle situation.
This way, you can figure out how many replacement shingles and other supplies you'll need. If the damage is out of your league, you can always give us a call and let one of our roofing contractors fix the roof for you.
You can climb on the ladder or use a set of binoculars and conduct a simple visual inspection. If you notice any of the following things:
- Shingles knocked off by high winds
- Debris, such as tree branches lying on the roof
- Curled or hanging shingles
- The roof is letting in water into your home
- you'll have to replace a couple of shingles.
Step 2: Getting Replacement Shingles
Once you've identified the area of your roof that needs repair, check and see if you have any replacement shingles lying around.
A roofing contractor usually leaves a dozen or so extra shingles after the installation for cases just these cases. Check your basement, garage, and attic for any leftover shingles.
If you didn't have any luck finding them, you can always buy new ones from a home improvement store. Asphalt shingles usually cost between $15 and $35 per bundle.
If it has been a while since you installed your roof, you might have difficulties finding the right color shingles.
Moreover, the sun and algae can change the color of the shingles, so finding a shingle that will perfectly fit your roof can become almost impossible.
Thankfully, there's an easy solution for this. All you have to do is uninstall a shingle from an area of your roof that's less visible and use it for repair. Then you can install the new shingle where you removed the old one.
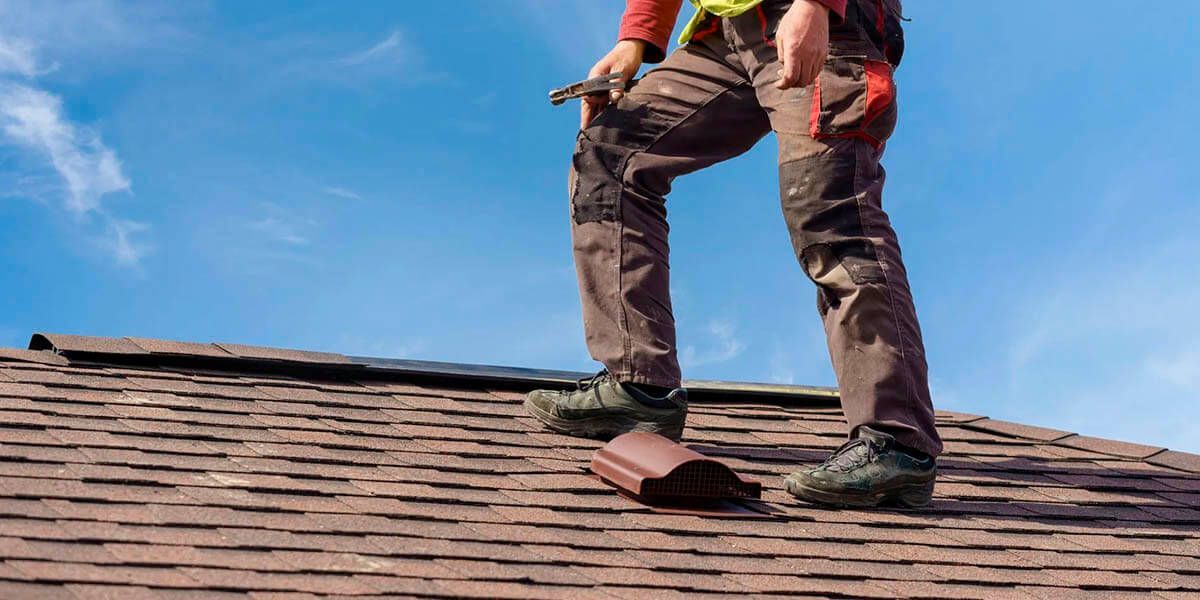
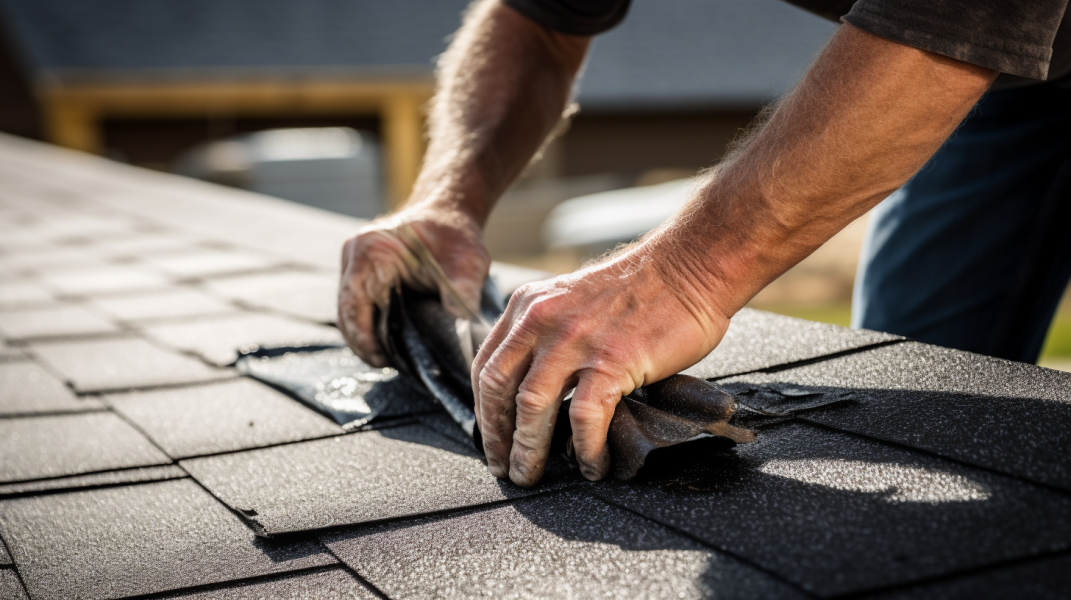
Step 3: Removing The Damaged Shingle
Once you've got the right color shingle, it's time to remove the damaged shingles.
Climb on the roof and get to the damaged area. Next, run a flat pry bar beneath and along the edges of the shingle to remove it. We recommend you do this gently so you don't tear off surrounding shingles.
Next, you need to find the nail that's holding the broken shingle in place. Use the flat pry bar to pull out the roofing nail and take out the damaged shingle.
Step 4: Installing The New Shingle
Once you've removed the old shingle, it's time to install a new one. Drop the old shingle to the ground or leave it next to you and take out the fresh one.
To install it, all you have to do is slide it into the place where the old one was installed and use a nail to hold it in place.
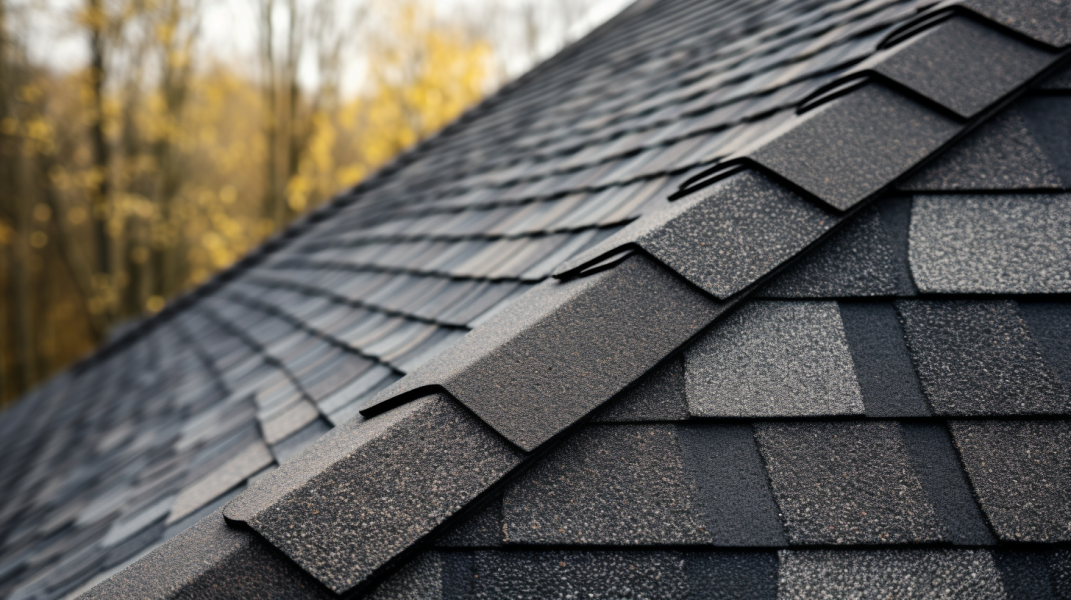
Keep in mind that asphalt roofing shingles are usually layered on top of each other to keep the water from leaking inside your home. This is why you should cover the nails with the shingles that are above the one you just installed.
Step 5: Nailing In The Surrounding Shingles
If you accidentally removed a nail from an undamaged shingle while removing the damaged one, you need to replace those nails.
While you're at it, you can also inspect the surrounding shingles and make sure they're nailed down and secure.
Remember, you should never keep the nail head exposed to the elements. Instead, you need to cover the nail with the shingle that's above it. If the roof is too brittle, you can always use sealant to cover the exposed nail.
Step 6: Applying A New Coat Of Roof Sealant
Apply a line of roof sealant (available for purchase at home improvement stores for approximately $10 to $20), along the adhesive strip located at the lower part of your newly installed shingle.
Press it firmly onto the shingle beneath to create a tight seal. It is crucial to apply the sealant to any areas where the original seal was broken, as the previous sealant is unlikely to reseal. By adding a small amount of sealant in these areas, you can safeguard your roofing against potential damage caused by strong winds.
Congratulations on completing the task! Once you have finished, descend the ladder safely and enjoy the peace of mind that comes with knowing your roof is shielded from the elements, whether it's the hands of nature or falling branches.
If you don't have the time or the skills to repair your roof, you can always call Nova Home Improvements. Give us a call today, schedule a free consultation, and find out why we're one of the best roofing companies in the area!


BROWSE OUR WEBSITE
CONTACT INFORMATION
Address: 764 Springfield St, Agawam MA 01030
Phone: (413) 455-8218
Email: novahome2021@gmail.com
License Numbers:
Ct hic 0666426
Mass Hic203142
Mass Csl116158
BUSINESS HOURS
- Mon - Sat
- -
- Sunday
- Closed


100% with no payments for a year financing available
100% financing at 0% interest for one year through GreenSky
ACH Available