

Roof Flashing Repair by Nova Home Improvements
Introduction
Ensuring the longevity and integrity of your roof is paramount for any homeowner. One critical component that plays a vital role in this is the roof flashing. Nova Home Improvements, with years of expertise in roof repairs service in Chicopee MA, brings you a detailed guide on how to effectively repair roof flashing, ensuring your home stays dry and secure.
Understanding Roof Flashing
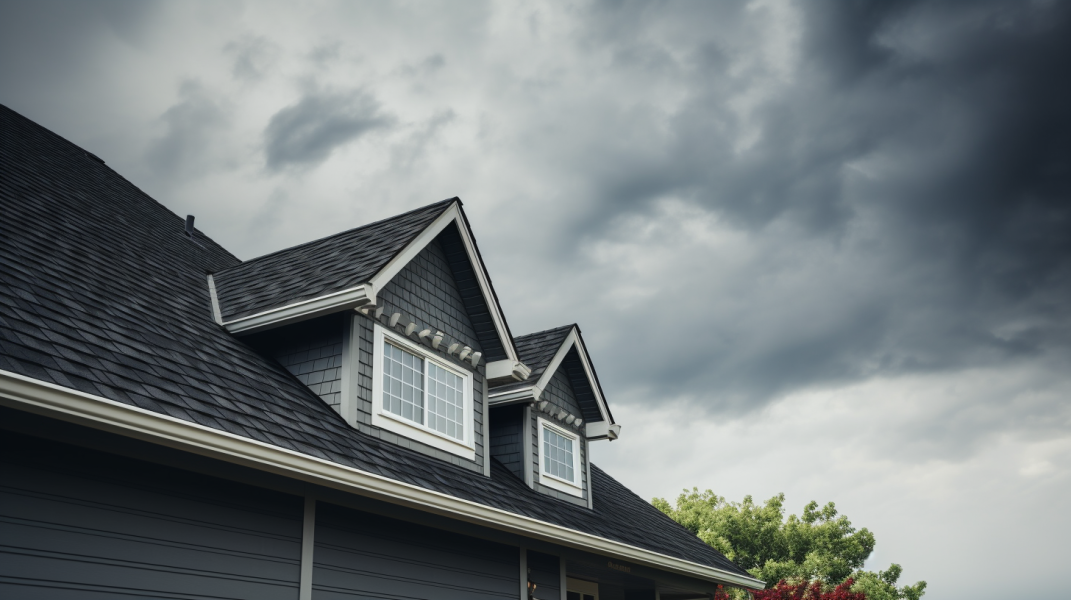
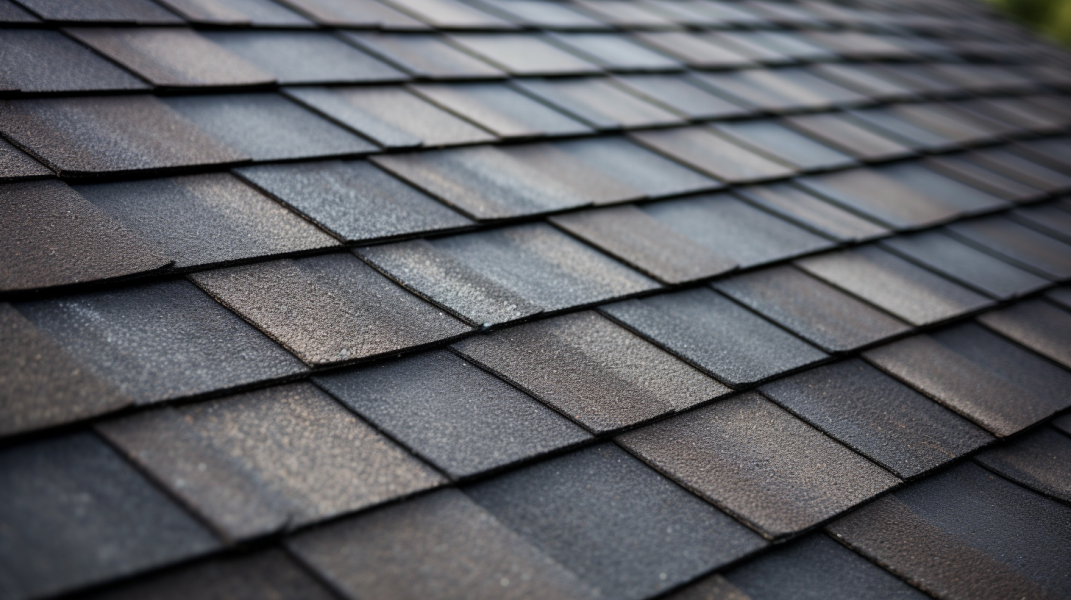
Roof flashing is a thin sheet of water-resistant material, typically metal, installed to direct water away from critical areas of your roof, preventing leaks and water damage. It is crucial around joints, chimneys, and vents, ensuring these vulnerable points are watertight and protected from weather-related damage.
Identifying the Need for Repairs
Regular inspections are key to maintaining your roof’s integrity. Signs of leaks around your chimney or roof joints may indicate issues with your roof flashing. Nova Home Improvements recommends annual checks to preemptively address any potential problems.
Why Professional Repair is Essential
While some may consider repairing roof flashing a DIY project, the complexity and precision required make it a task best left to professionals. A roofing contractor in Chicopee with experience and knowledge ensures repairs are done correctly, safeguarding your home from potential wind and water damage.
Step-by-Step Roof Flashing Repair
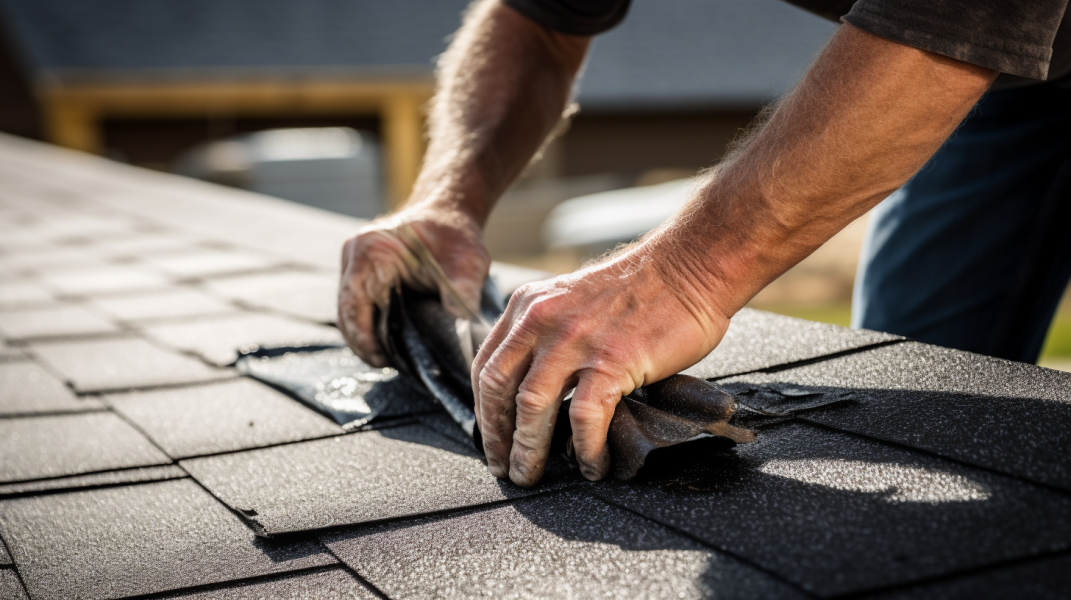
1. Removing Shingles
The first step involves carefully removing the shingles surrounding the flashing. This precision work ensures access to the flashing base and prevents accidental damage to the shingles.
2. Addressing Minor Repairs
For minor corrosion, a roofer will prepare the area around any holes, apply a patch of flashing material, and secure it with roofing cement. This meticulous process ensures a watertight seal.
3. Removing Fastening Materials
In cases of severe corrosion, the old flashing must be removed. This involves delicately chipping away the roofing mortar or caulk, ensuring no damage to the roof itself.
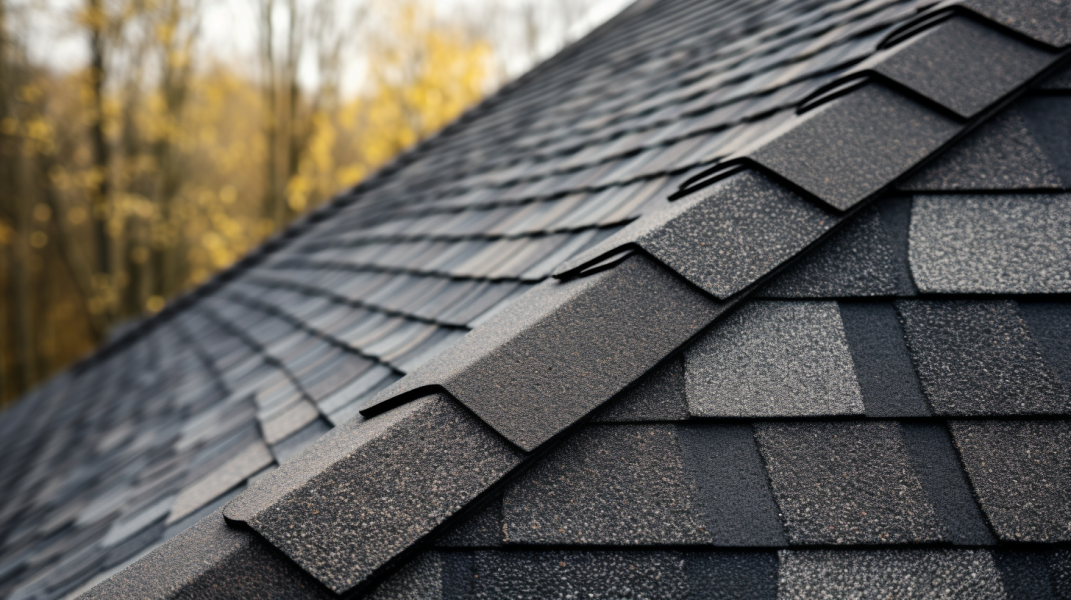
4. Installing New Roof Flashing
With the old flashing removed, new flashing is securely nailed down and sealed at every edge. Nails are capped with roofing cement to prevent leaks, ensuring a watertight installation.
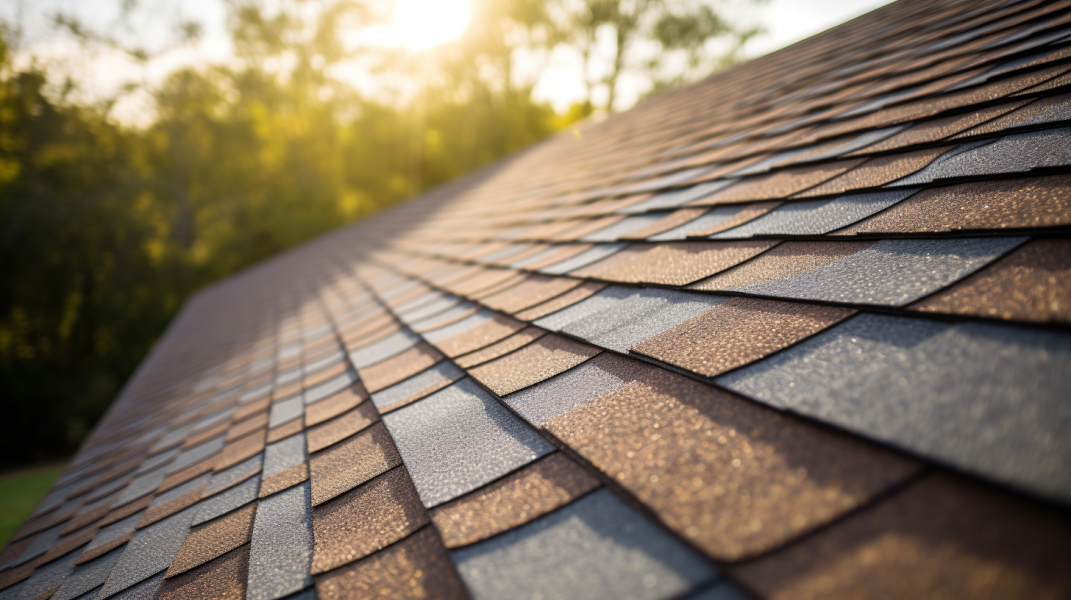
5. Reinstalling Shingles
The final step involves reinstalling the shingles, completing the repair process and restoring your roof to its optimal condition.
Conclusion
Roof flashing plays a crucial role in maintaining the integrity of your roof. Regular inspections and timely repairs are essential to prevent water damage and ensure the longevity of your home. Trust Nova Home Improvements, a leading roofing contractor in Chicopee, to provide expert services and peace of mind. Ensure your home is protected and contact us today for all your roofing needs.